19 Oct 2024
HOW TO INSTALL TINT ON YOUR CAR
How to Install Tint on Your Car
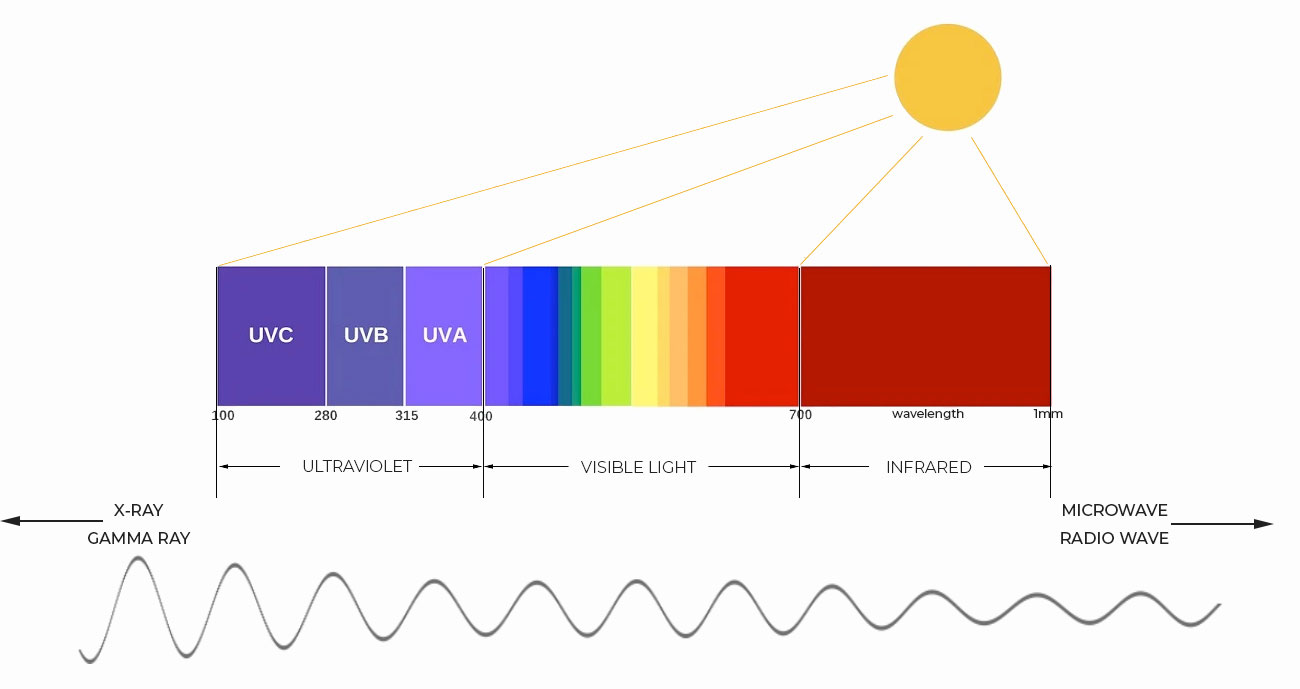
Installing window tint on your car can enhance its appearance and provide numerous benefits, such as UV protection and heat reduction. While professional installation is recommended for the best results, if you’re considering a DIY approach, here’s a step-by-step guide to help you through the process.
Materials Needed
- Window tint film
- Spray bottle with soapy water (water mixed with a few drops of dish soap)
- Squeegee
- Utility knife or razor blade
- Measuring tape
- Heat gun
- Lint-free cloth
- Clean microfiber towels
Step-by-Step Installation
Choose the Right Tint Film:
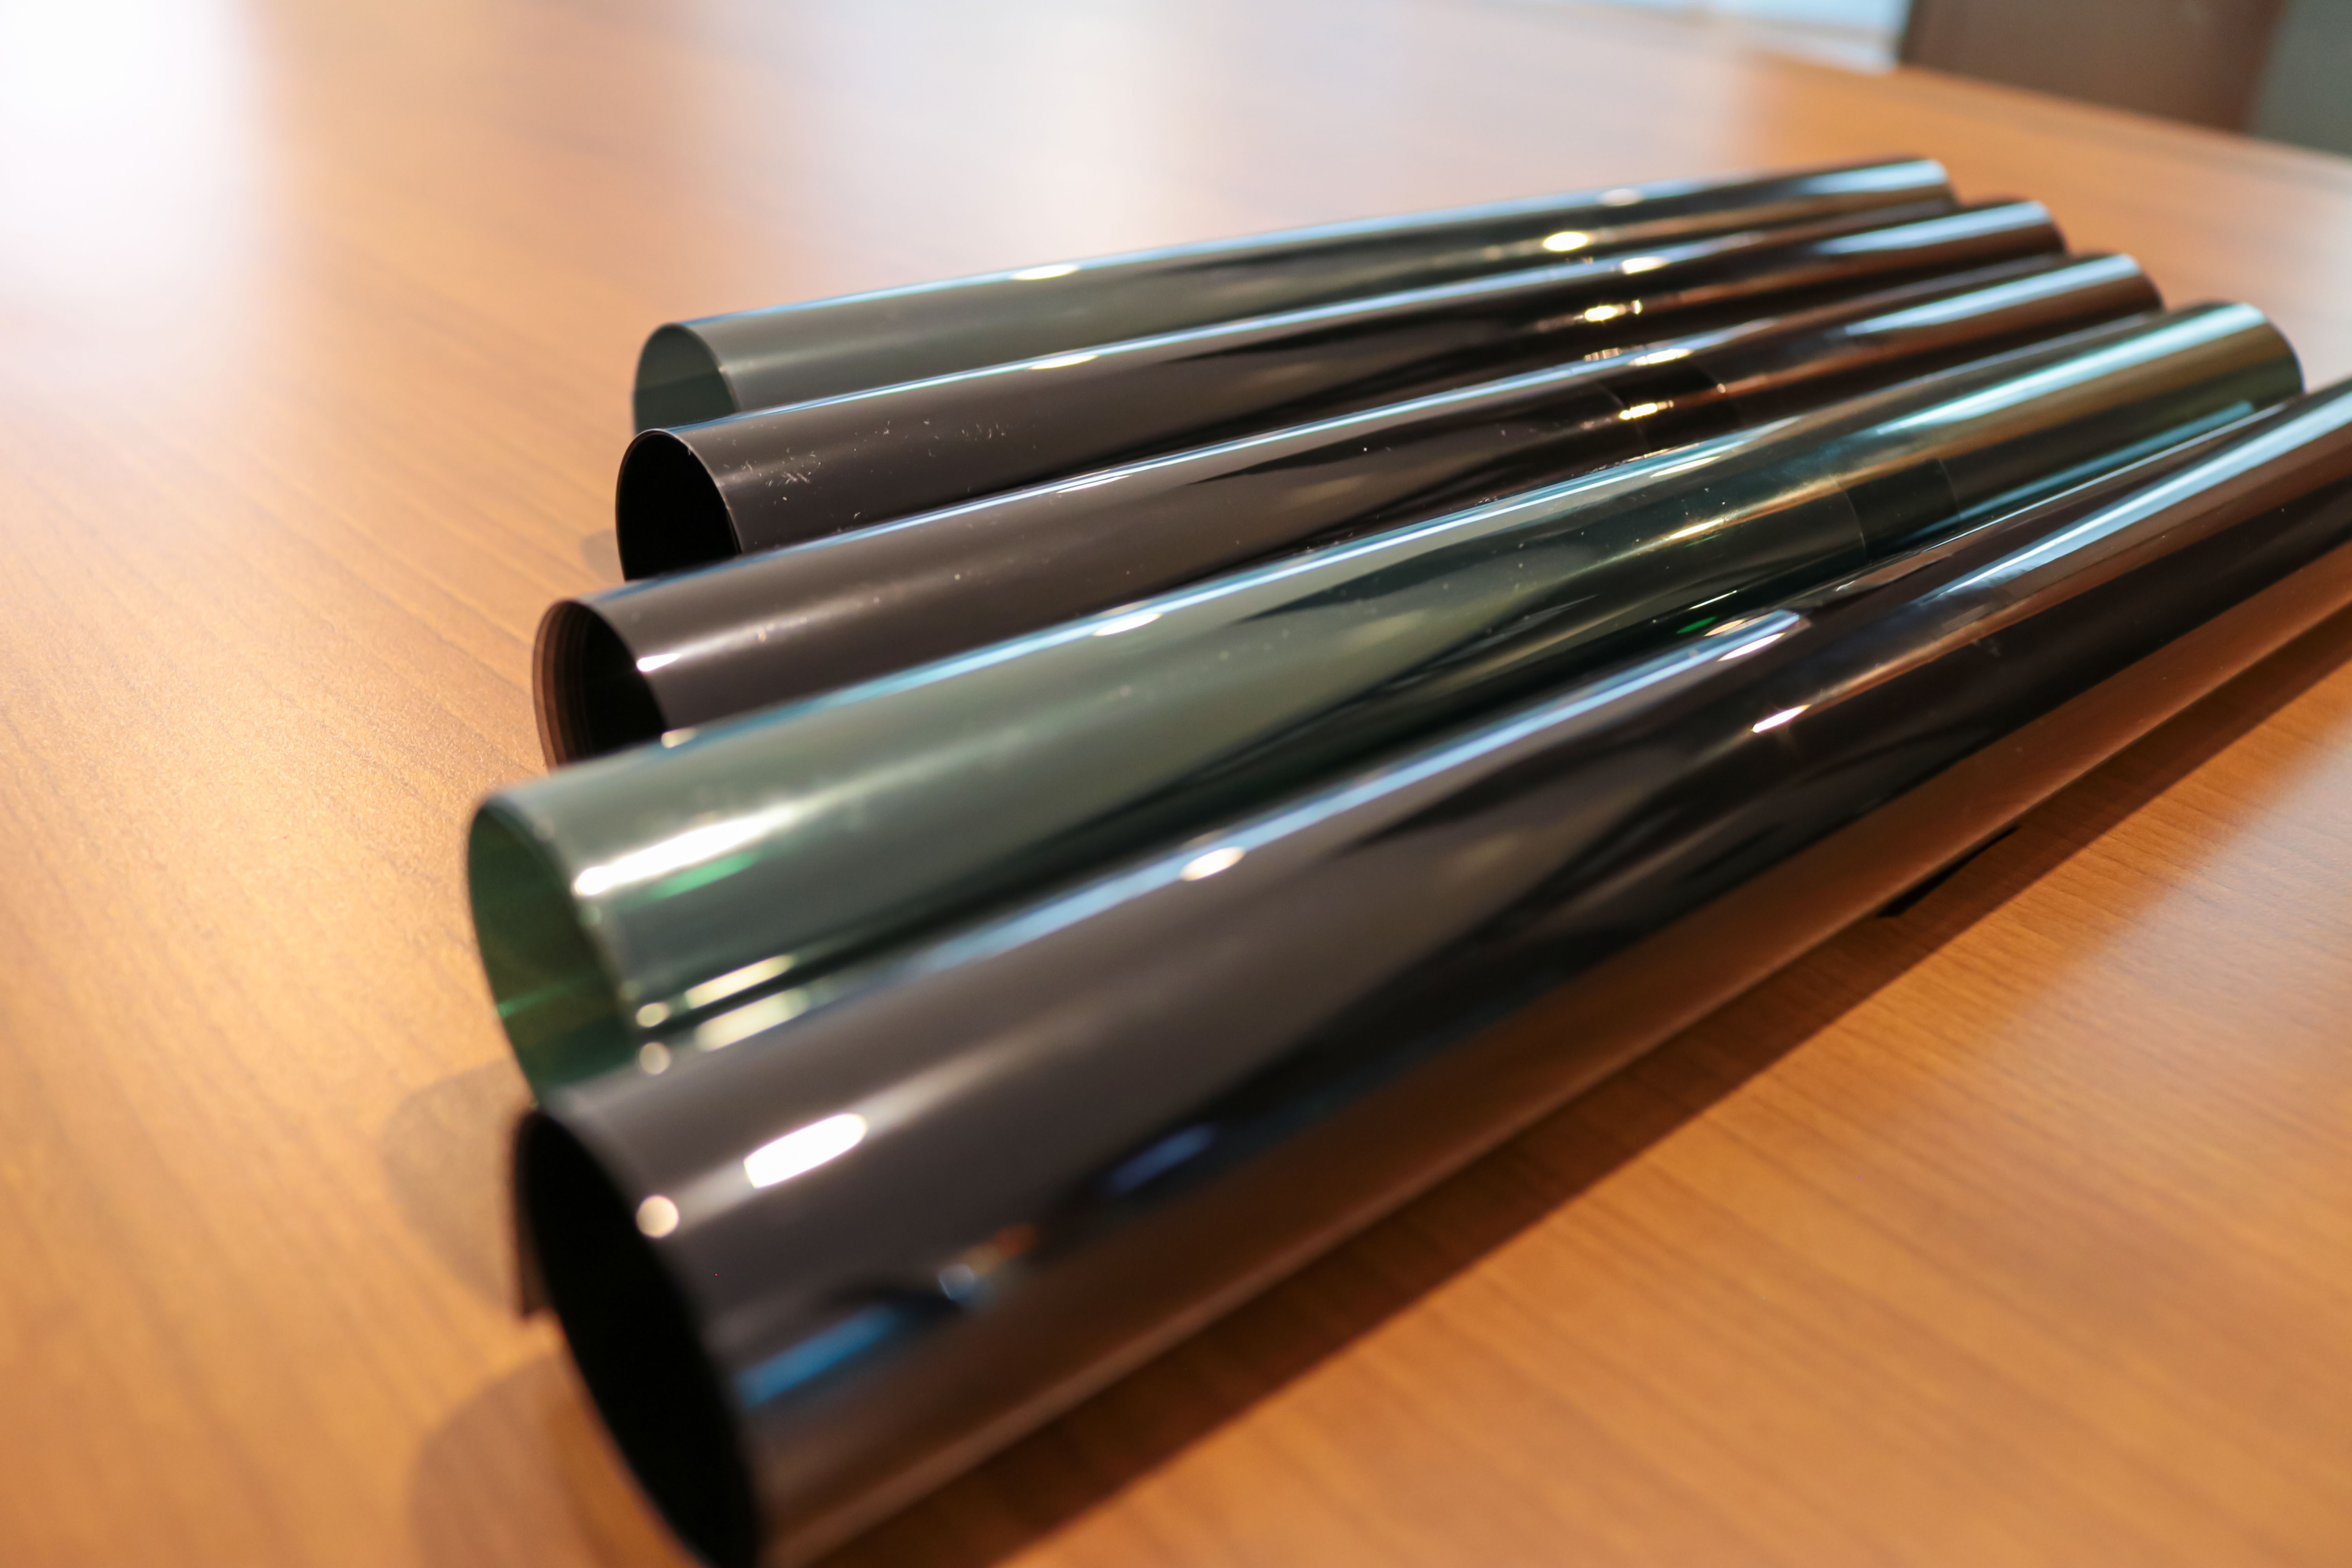
- Research and select the appropriate tint percentage and type (e.g., dyed, metalized, ceramic) for your needs and local regulations.
Prepare Your Workspace:
- Work in a clean, shaded area to avoid dust and direct sunlight, which can interfere with the application process.
Clean the Windows:
- Thoroughly clean the windows with a glass cleaner and a lint-free cloth. Ensure there’s no dirt, dust, or grime, as this can affect adhesion.
Measure and Cut the Film:
- Roll out the tint film and measure it to match the size of the window. Leave a little extra around the edges to trim later. Use a utility knife to cut the film.
Soak the Window:
- Spray the window generously with the soapy water mixture. This helps the film adhere and allows for repositioning during installation.
Apply the Tint Film:
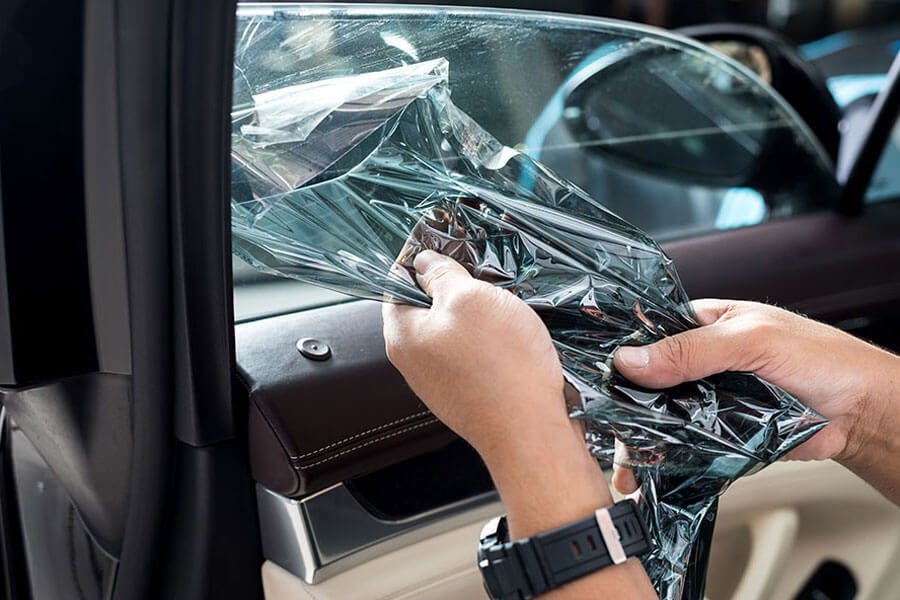
- Carefully peel off the backing of the tint film and apply the adhesive side to the wet window. Start from the top and work your way down, ensuring there are no air bubbles.
Smooth Out Air Bubbles:
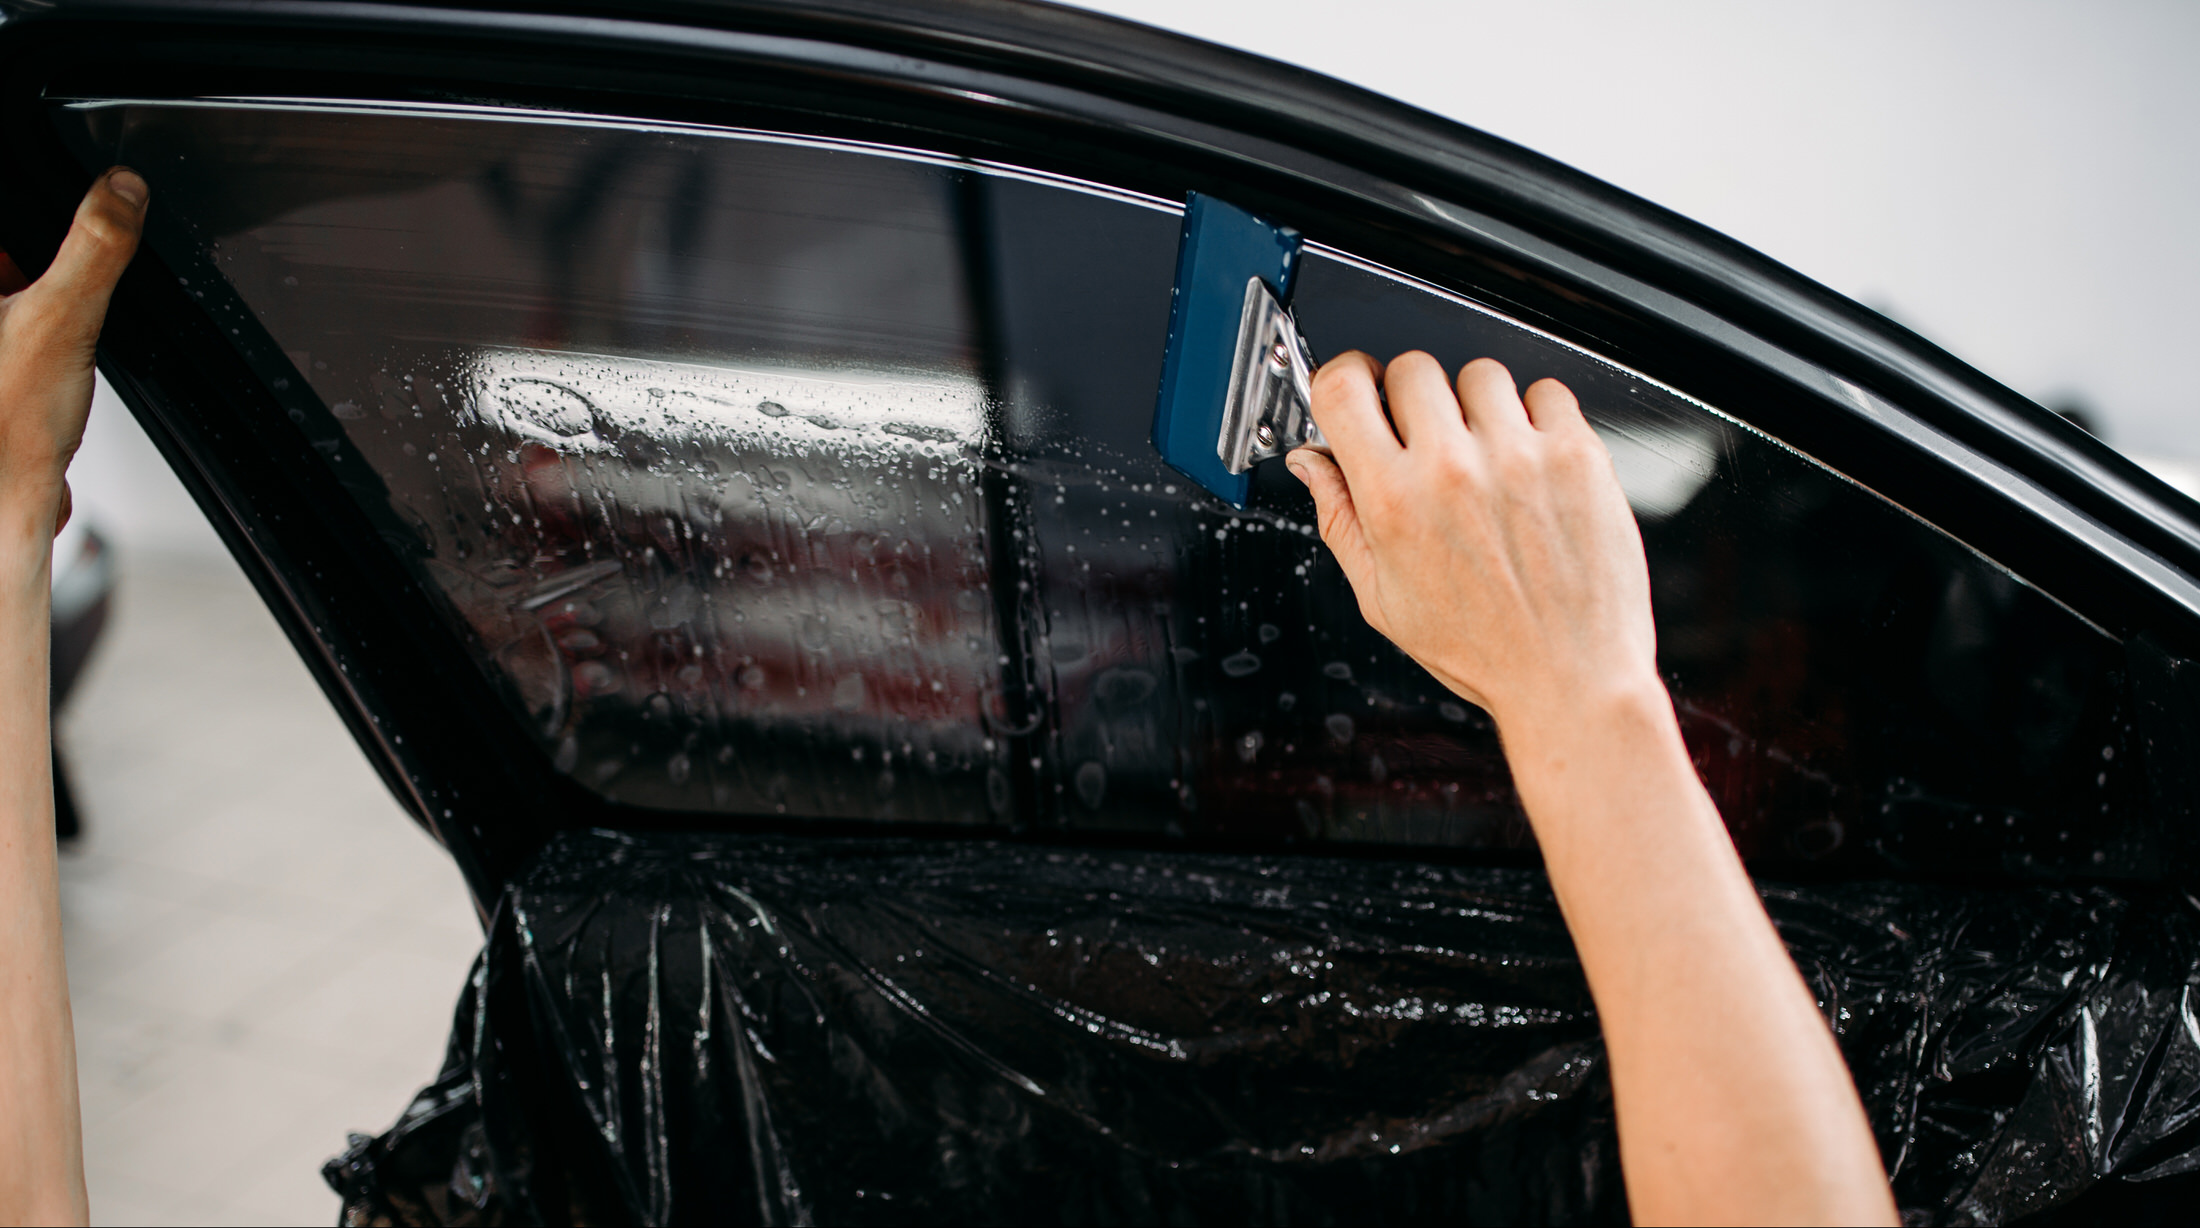
- Use the squeegee to push out air bubbles and excess water, working from the center to the edges. Be gentle to avoid scratching the film.
Trim Excess Film:
- Once the film is properly placed, use the utility knife to trim any excess film along the edges of the window for a clean fit.
Heat the Film (if necessary):
- If the film doesn’t conform well to the window's curves, use a heat gun or hairdryer on a low setting to gently warm the film. This will make it more pliable and easier to shape.
Final Smoothing:
- Go over the film again with the squeegee to ensure a tight bond and remove any remaining bubbles. Wipe down the edges with a clean cloth.
Cure the Tint:
- Allow the tint to cure for at least 24-48 hours without rolling down the windows. This ensures that the adhesive bonds properly.
Tips for Successful Installation
- Practice Patience:Take your time with each step to avoid mistakes.
- Follow Local Laws:Check local regulations regarding window tinting, as there may be restrictions on how dark the tint can be.
- Consider Professional Help: If you're unsure about DIY installation, hiring a professional can save time and ensure a high-quality finish.